Ready to create some kitchen magic?
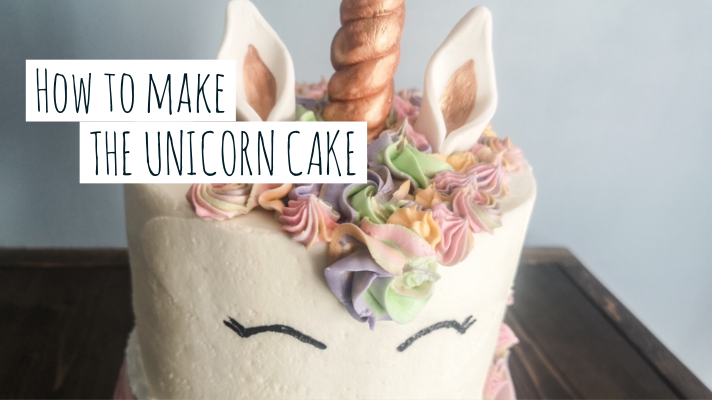
This step-by-step guide will show you how to decorate a unicorn cake that’s equal parts adorable and doable — no bakery experience needed. Whether you’re baking for a birthday party, baby shower, or just a fun weekend project with your kids, this one’s for you, home baker!
🦄 P.S. Want to see the newest version of this cake? We gave it a magical makeover! Check out The Unicorn Cake here »
🛠️ Before you start! Make sure you have the right tools on hand — it makes all the difference! Check out The Essential Cake Tools Every Home Baker Actually Needs before you dive in. 🎂
Let’s start with the obvious…
Unicorn cakes are everywhere — and for good reason. They’ve been trending for a few years, and honestly? Still totally worth the hype. They’re whimsical, colorful, and ridiculously cute.
I’ve been meaning to make one forever, and when my friend planned a unicorn-themed party? Perfect excuse! But this isn’t just any unicorn cake… it’s also a piñata cake and a funfetti cake. Yup — 3 trends, 1 magical bake.
Baking the layers
I used three 6-inch cake pans and my go-to vanilla cake recipe. Once your batter is ready, gently fold in about 1/3 cup of sprinkles (nonpareils give the best funfetti look!). Bake as usual, then cool and level your layers.
Want to make sure you have everything you need? Check out the essential cake tools every home baker actually needs.
Building the piñata cake
Once cooled, it’s time to stack and stuff the cake!
- Place your bottom cake layer on a board and spread icing on top.
- Cut a hole in the center of your second and third cake layers.
- Stack the second cake, add more icing, then the third.
- Save the center cut-out (you’ll need it later).
- Fill the hole with candies — I used pastel M&Ms.
- Seal it with that cake “lid” and press gently.

Crumb coat time
Apply a thin layer of icing all over the cake — this is your crumb coat, meant to trap loose crumbs so they don’t mess up your final design. Chill the cake until it firms up.
Time to decorate!
- I frosted the cake white to let the pastel details shine. Then:
- Fill piping bags with different buttercream colors
- Use assorted tips to pipe swirls and stars as the unicorn’s mane
- Chill the cake briefly again
- Paint on cute lashes using a food-safe brush and dark gel coloring
DIY horn & ears
No unicorn is complete without its horn and ears! I made mine with fondant a day ahead so they could dry and hold their shape. I’m not a fondant fan taste-wise, but for decorations? It’s perfect.
Want more cake magic? See the upgraded Unicorn Cake tutorial