Yes, I say build a cake because I’m talking about what happens after baking and before the beautiful Instagrameable photo, and that’s nothing but levelling, assembling, filling, fixing and covering layers of delicious cake, pure Butter and Sugar engineering. As you know, I’m a self thought home baker, so of course I still don’t have all the answers, and maybe there’ll be a second post about this, but I do have many tips and tricks based on what had worked for me so far.
Lately I’ve been making at least one cake per week (I wish it was more, but remember I have a full time job) and from every cake I’ve made I learned something that most of the time applies to all cakes. You can see some of my cakes here
Here are my tips:
– The coldest your cake is, the easier it will be to work with. There are 2 main reasons for this: #1) a colder cake is more consistent and less crumbly so when you cut the top or make it into layers it won’t break apart as easy and #2) because you need your buttercream/filling to stay the way you made it, a warm cake (even slightly warm) won’t only melt your filling but also add moisture to it changing its consistency.
– Flat tops or leaning like Pisa. We all learn the hard way to don’t be lazy and level until we can no more. Cut the top of your cakes, even when they don’t seem to have a “dome” from baking (it’s normal, cakes have leavening agents to help them grow and sometimes they decide to do it in the shape of a dome). Test the flatness by putting your cake upside down and you should see a totally flat top.
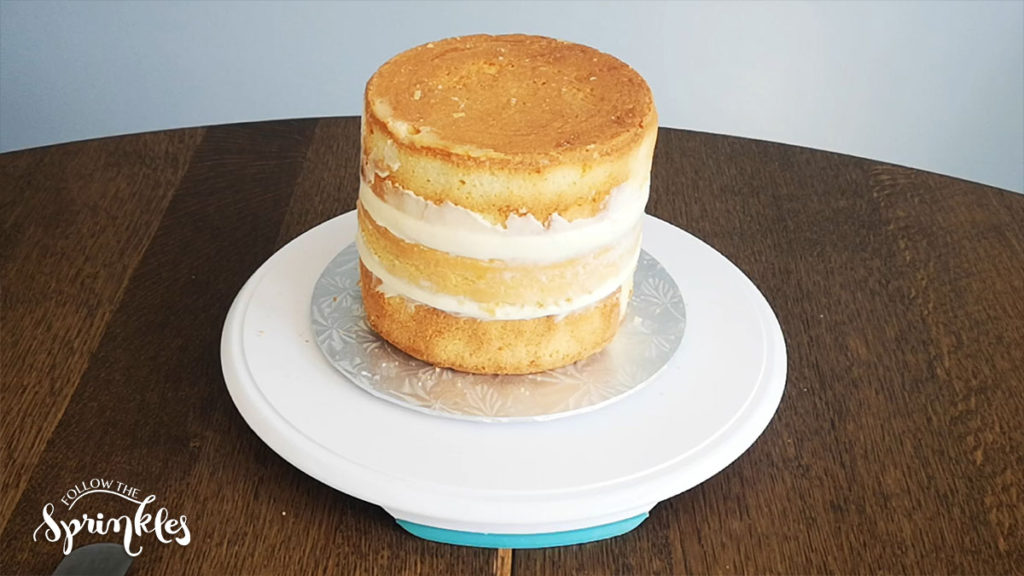
– Top and bottom are both bottoms. Your first layer of cake should have it’s bottom down and your top layer should have it’s bottom up, that way you guarantee that the cake is sitting completely flat. And ff the top is not nice and flat, it means that one of the layers is not levelled.
– Stack before start. This tip goes linked with the one before, don’t start decorating and getting all exited until you stack all the already levelled layers and verify the cake is in fact flat and nice, if it’s leaning towards any side at this point, chances are, your cake won’t very straight and things will get dramatic later on.
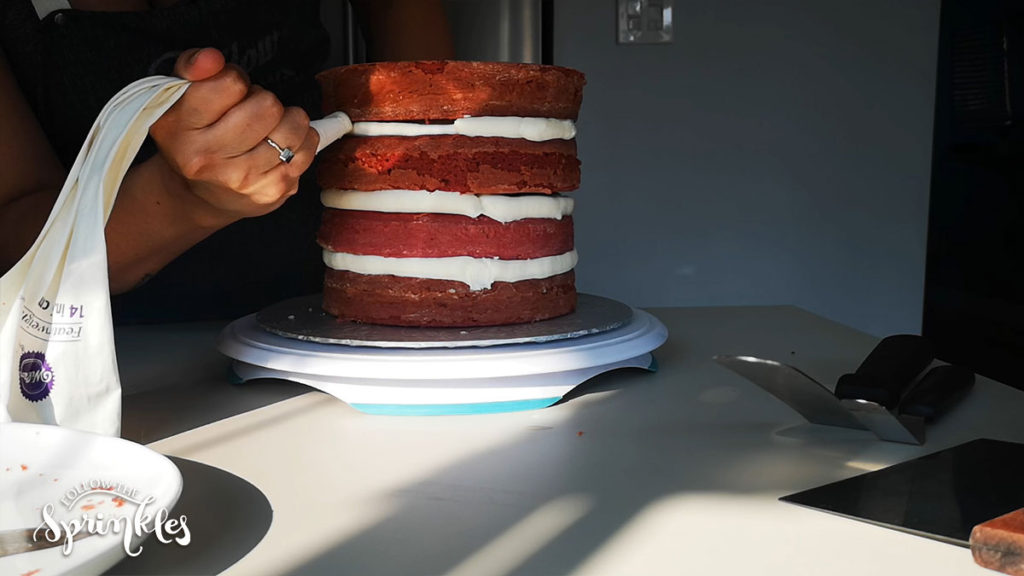
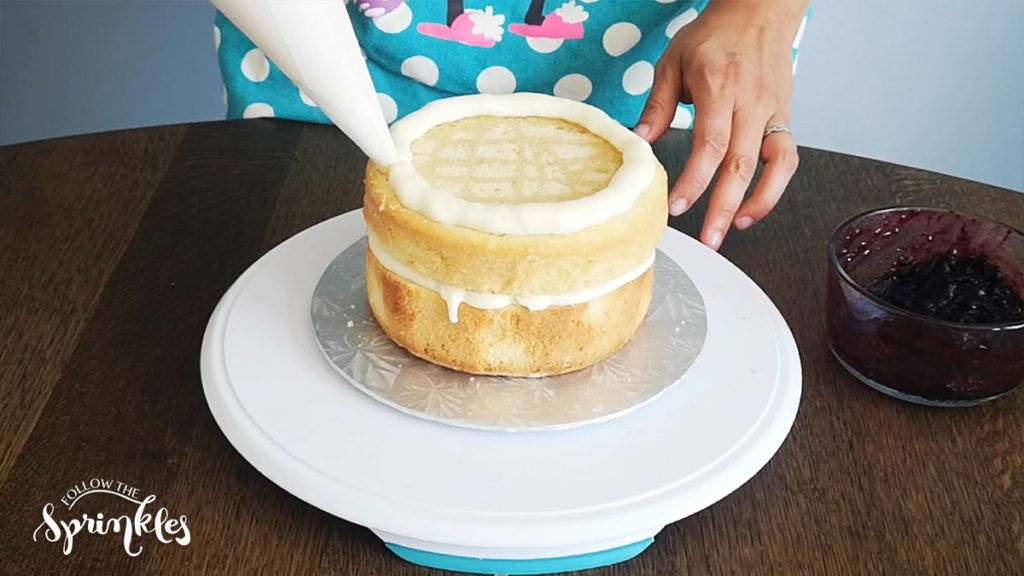
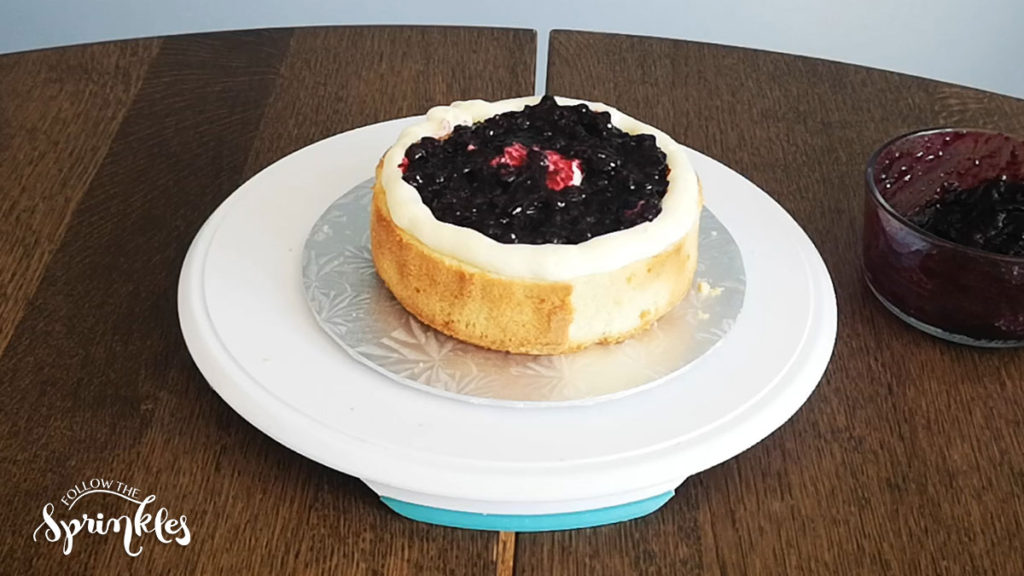
– A wall of cream. I don’t always do this, but certainly it helps, specially if your main filling it’s too runny. It’s recommended to pipe a wall of slightly harder buttercream on each layer before filling, this way nothing will be squeezed out from the sides because of the weight added on top.
– Keep that cake from slipping away. If you’re using a turntable, no matter what kind it is, put a little piece of a anti-slip mat under your cake board/drum. I used to put a little bit of buttercream under, but now I save that extra cleaning time haha.
– Keep them handy. This might be too obvious, but trust me, just to make your life easy, get all the tools you need (off set spatulas, scrapers, spoons, paper towels, bowls, etc.) handy, and by handy I don’t mean in a drawer near by, I mean in the counter/table where you’re working at the reach of your hand.
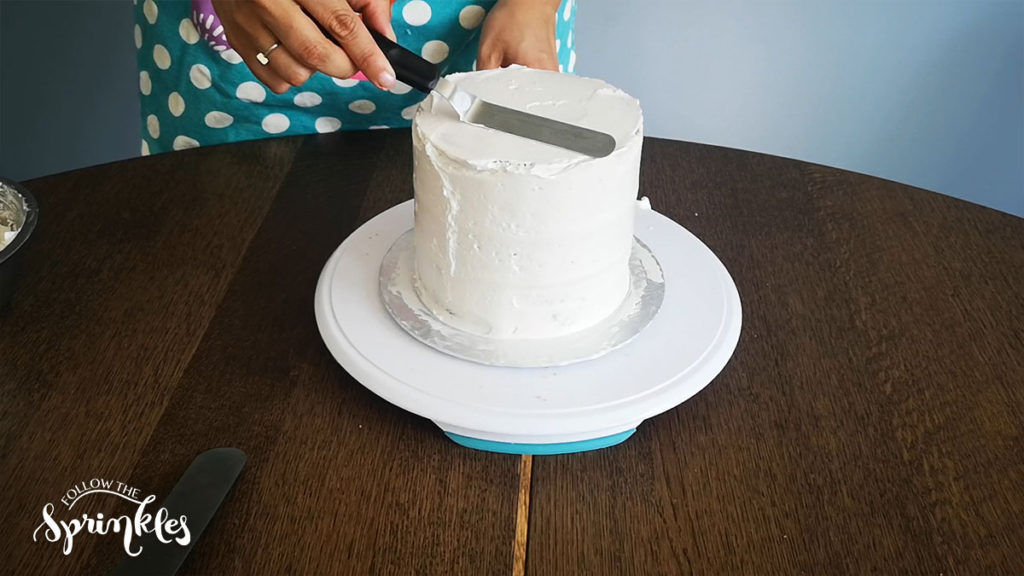
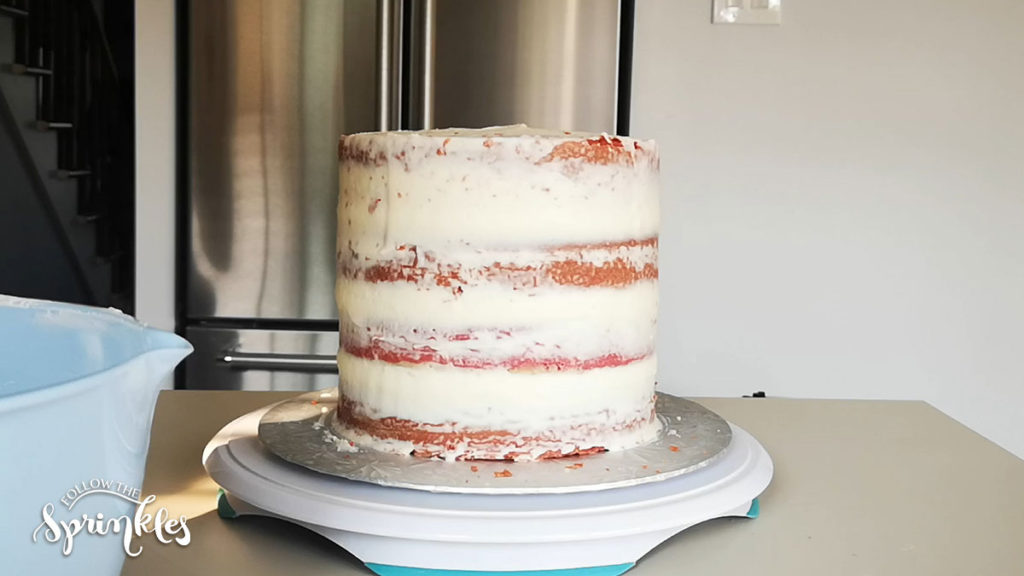
– Crumb coat. This is the golden rule for any cake, and here is why, if you skip this step chances are your beautiful cake will be full of crumbs and will be less beautiful. So, stack and fill your cake and then do a coat of buttercream, very rough, nothing fancy (basically make it look like a naked cake), make sure the edges are still nice and sharp, then let it cool to set.
– Power chill. I power-chill probably after every step of the cake building process, power chilling is fast and effective, what does this means? You know how you need to cool your cake and let things set? You can just put it in the fridge for a while, but I love to pop in the freezer for very little time and keep on going, this way the cake won’t freeze and change is texture, but the fillings and coating will set faster. In the winter we normally have the heating on and in the summer is too humid, so working on the cake has to be very very quick if I don’t power chill… But using the fridge for longer periods of time is fine al well, after all once the cake if finished I put it in the fridge not the freezer.
– Divide the process in 2 shifts. I normally bake my cakes one day and put together / decorate the following day, this allows the cake to completely cool down and I work better in 2 shifts based on my schedule, because honestly, who has time for all this in just one day? Anyway… Once I’m ready to build my cake that means all cakes have been levelled (burn or extra crispy borders have been scrapped too), buttercream is good to go (if is coming from the fridge might be too hard to spread, and if it’s been out for too long might be too soft), piping bags if needed are filled and I’m ready to just assemble. I usually add decorations on top and those, most of the time I take care of as the cake is power chilling one last time.
Hope you liked mi tips… If you do, don’t forget to sign-up for the newsletter or follow me on Instagram so you can see when a new post is up!