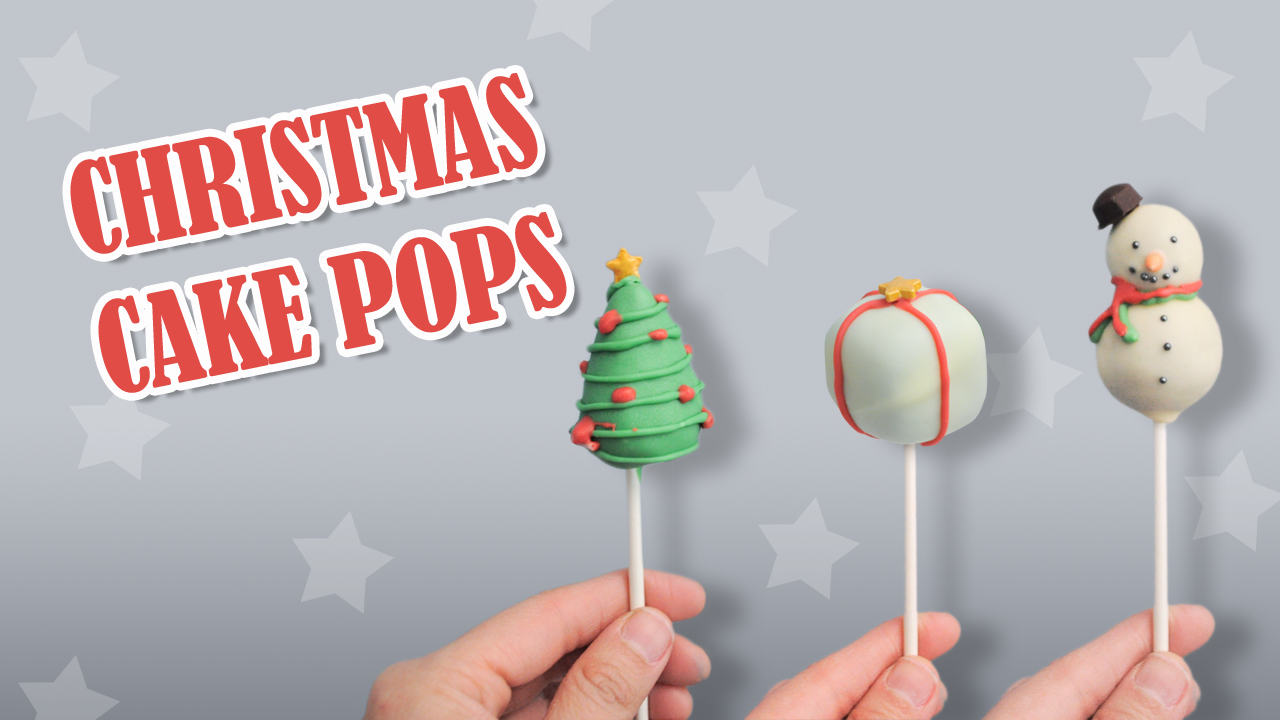
Hi there, do you feel it too? Yup, Winter is here, which means is hardcore baking time! And also, Christmas is around the corner and that means extra special baking! So get ready to have your home smelling amazing and your hands busy (maybe also everyone else’s hands busy as well, just try to avoid helping paws). Ready to learn how to make Christmas cake pops?
This project is ideal to make your dessert table look extra adorable, and trust me when I tell you everyone will take a picture of their cake pop before eating it.
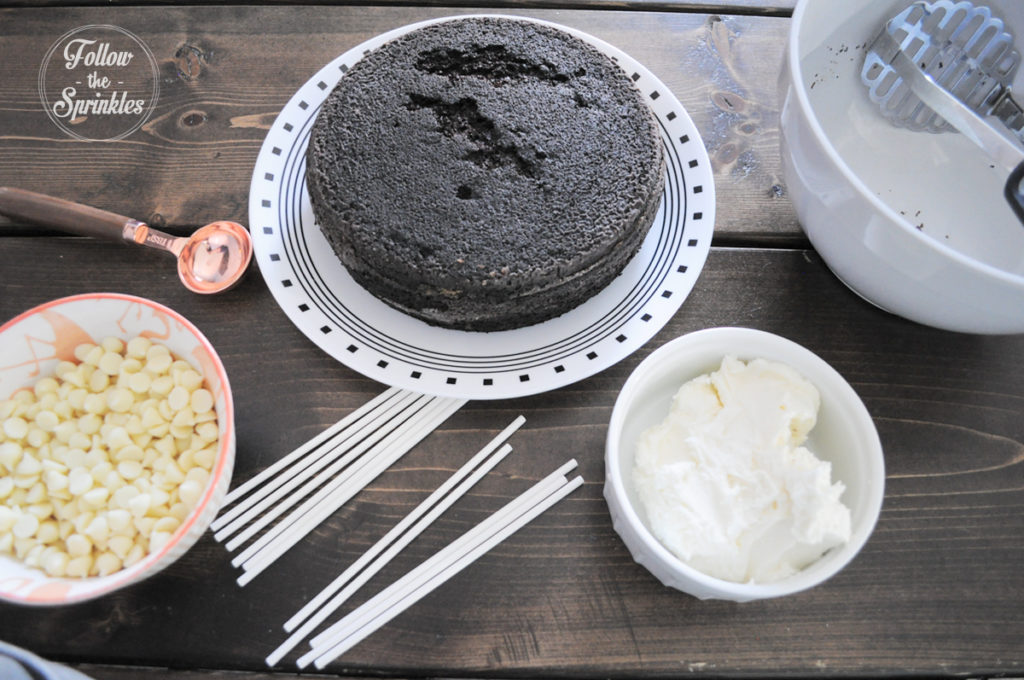
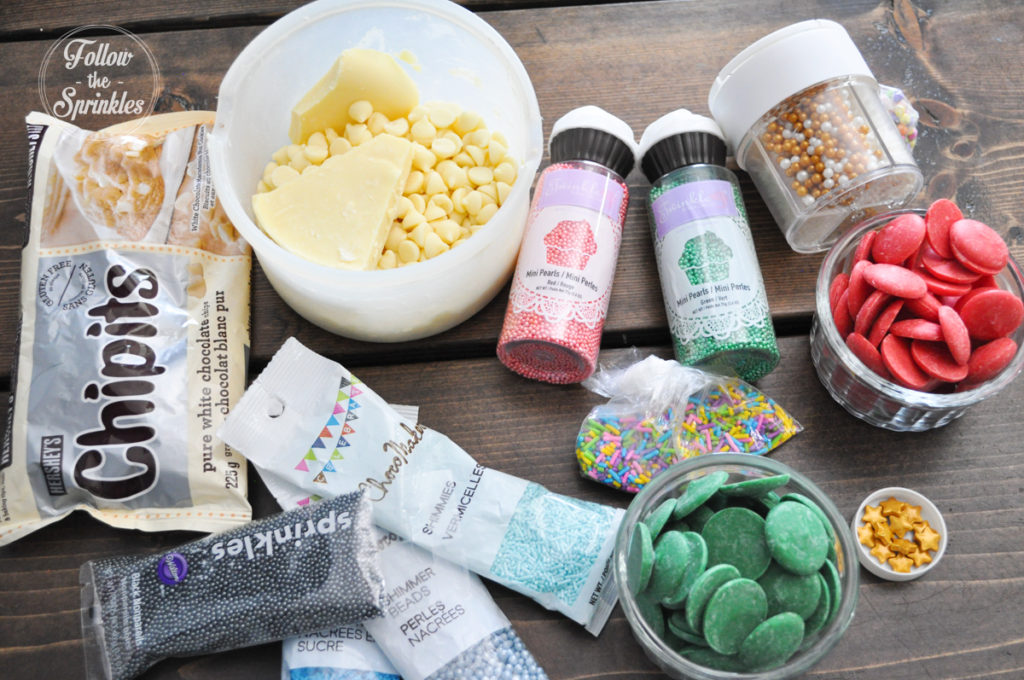
All you need at the ingredients listed below:
- Chocolate cake (or your favourite flavour cake)
- Batch of icing or buttercream.
- White chocolate.
- Green Candy melts
- Red Candy melts
- Vegetable shortening
- Lollipop sticks (I normally use 4″ but for the Snowman I used 6″)
- Sprinkles: black round ones are perfect for the snowman details, and any type of orange one for the nose), and the rest is up to you and how you want to decorate.
- Pipping bags… or ziplock bags will work as well.
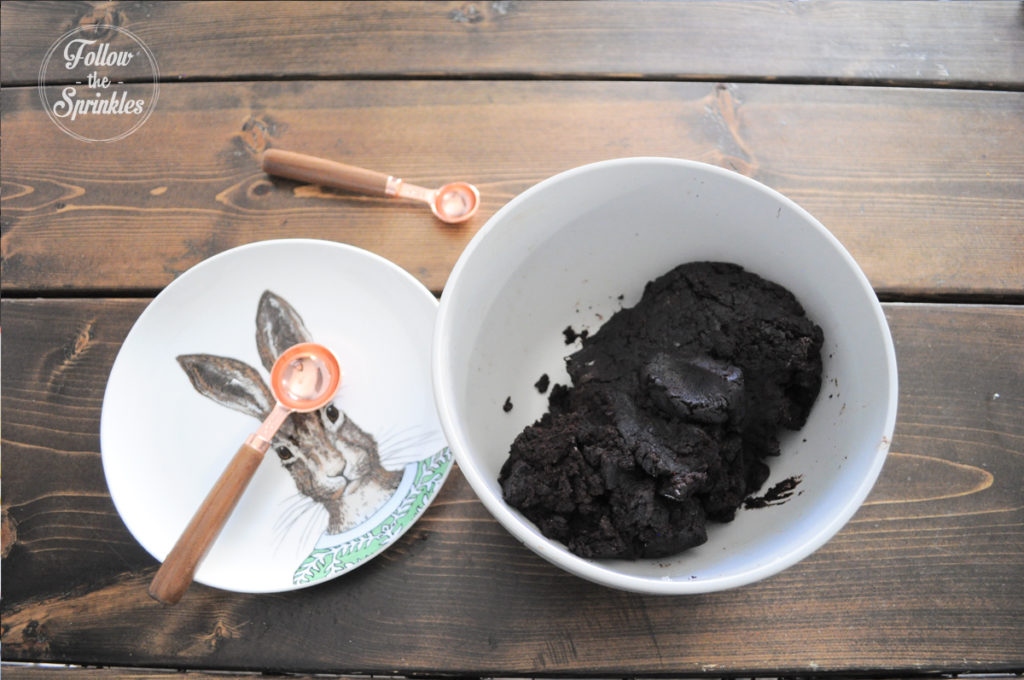
- Say Bye-Bye to that beautiful cake, you’re going to break it into crumbles.
- Start adding the buttercream one tablespoon at the time and mix (is best to use your hands so you can feel the texture). Stop when you can form a ball that sticks together.
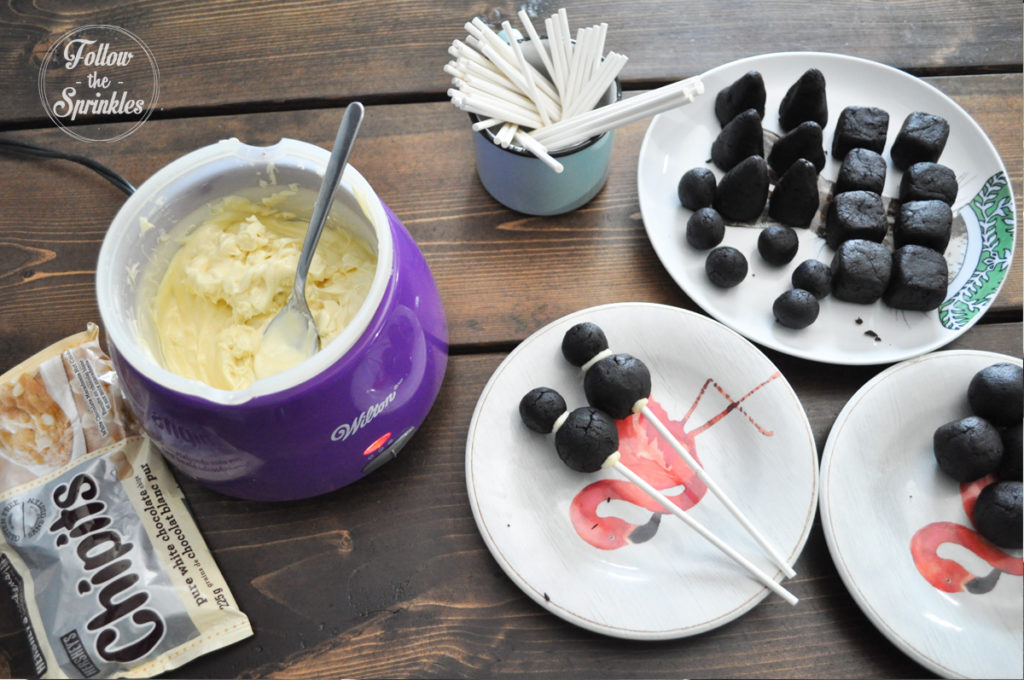
- Using a tablespoon start making cake balls, remember to make a few half the size for the snowman heads.
- Take some of the balls and shape them as triangles (these will be Xmas trees), also reshape a few others as cubes (these will be gift boxes).
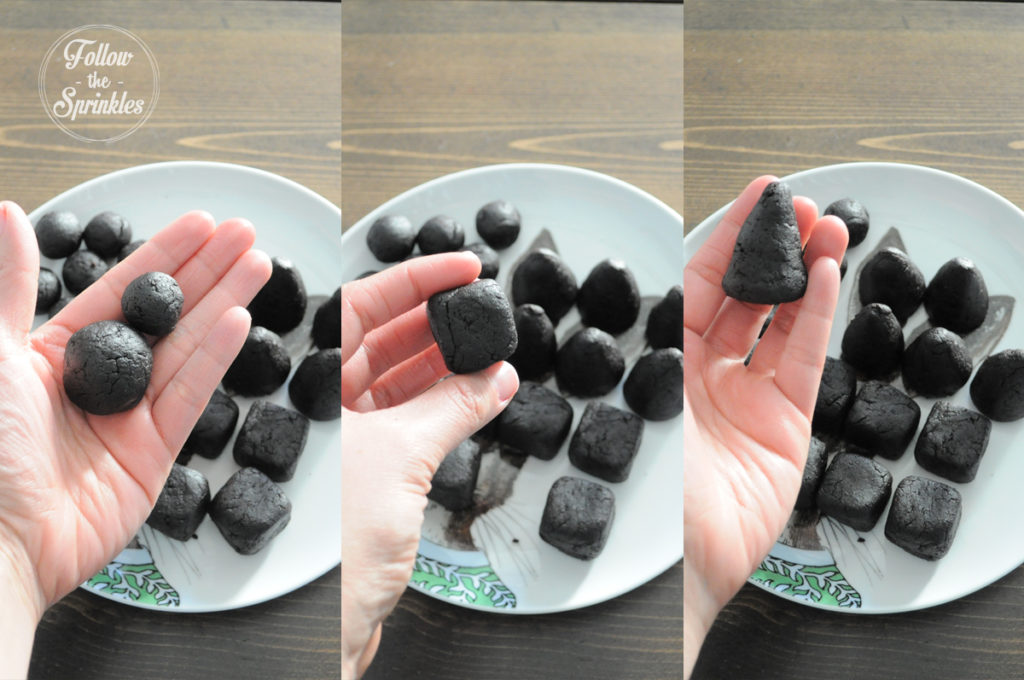
- Refrigerate for at least 30min, if you have more time, even better (over night is great if you have the time).
- Start melting the chocolate, and while you’re on it, dip the tip of the sticks (one at the time of course) and insert into the cake balls/ cubes/triangles (only half way)… for the snow man is better if you use longer sticks, but no necessary, carefully hold a regular ball and cross from side to side with the stick and just leave a tiny bit out, dip the tip in chocolate and insert into one of the small cake balls.
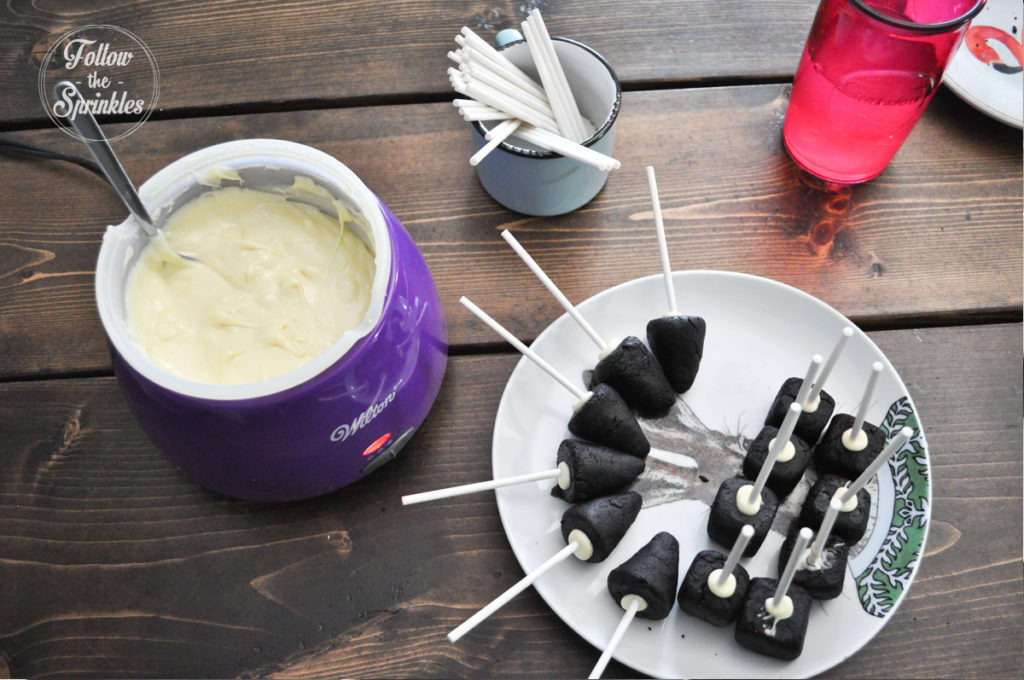
- Put in the fridge for 15min or until you see the chocolate has hardened.
- Back to the melting chocolate… If you see your it has melted but is not runny enough add a teaspoon of vegetable shortening and mix.
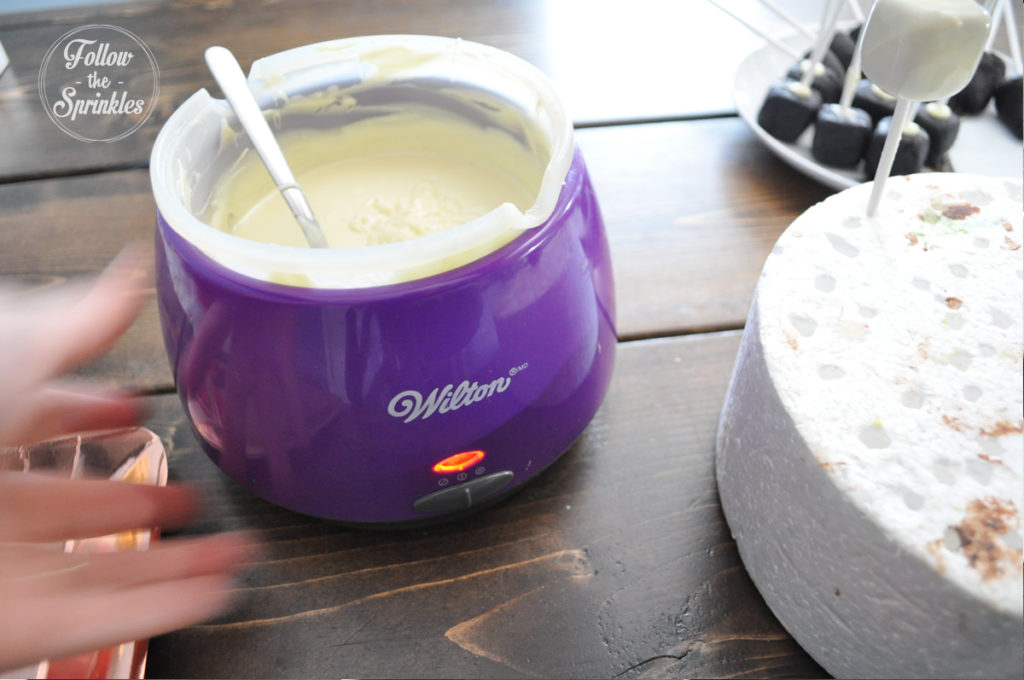
- Start by dipping the snowman, those will require to dip deeper, so is better if you do that when you have the most amount of chocolate. When you’re done with three, take the first one and start adding the sprinkles, that way you know is still sticky and not fully hard yet. Once you finish all, refrigerate.
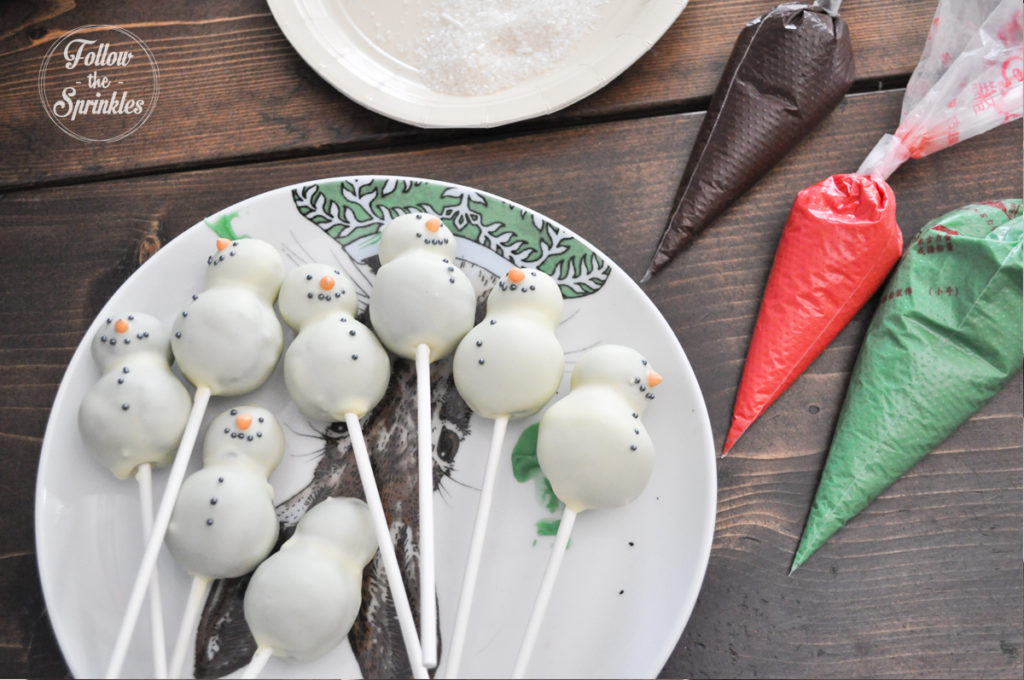
- Dip the cubes and cake balls into the remaining white chocolate and refrigerate.
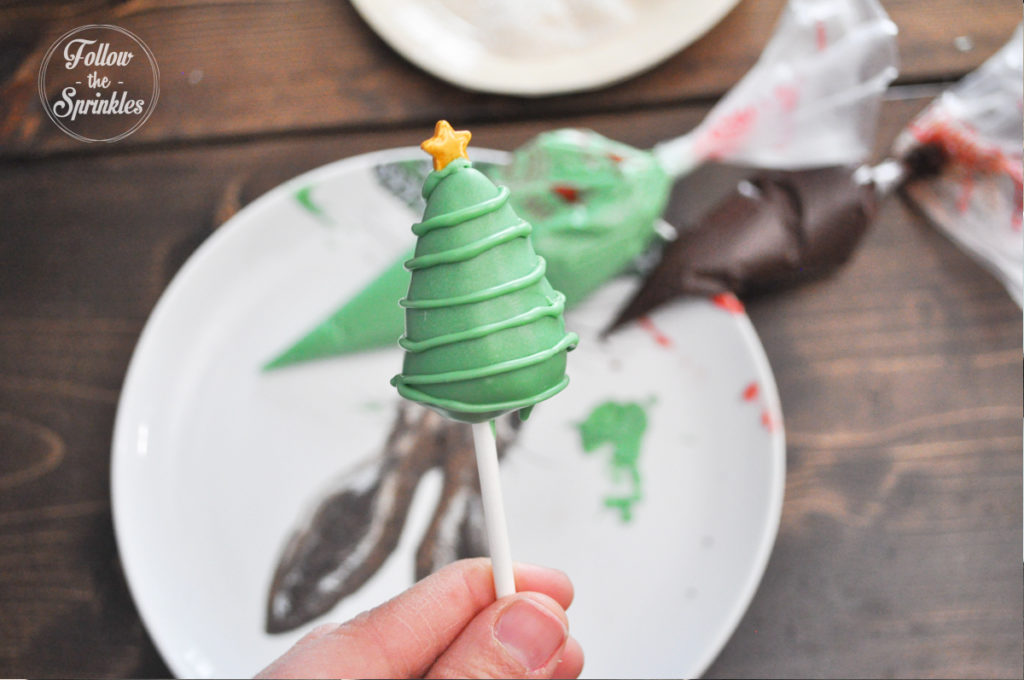
- Use the green candy melts to dip the triangles, in this case, since I don’t have that many candy melts I’m using a mug, so I can get deeper very easy. Once done, refrigerate.
- Decorate! For the trees I just did an spiral in the same colour, and for the presents, draw 4 lines that meet on top. The rest is up to your sprinkles, use them wisely haha… or add ornaments to the tree by making little dots with more candy melts.
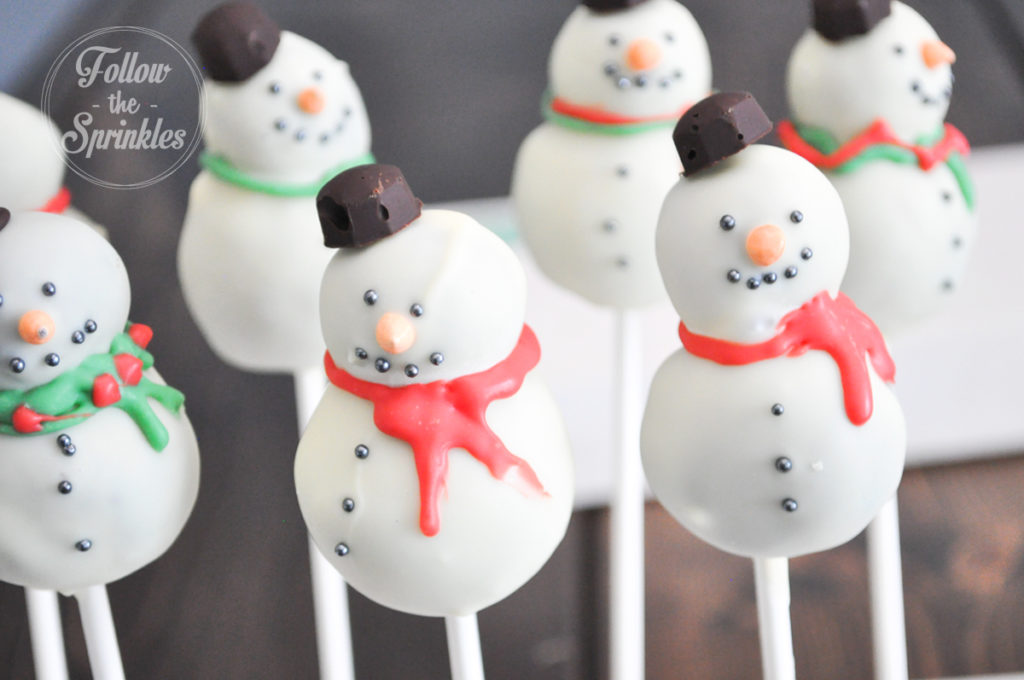
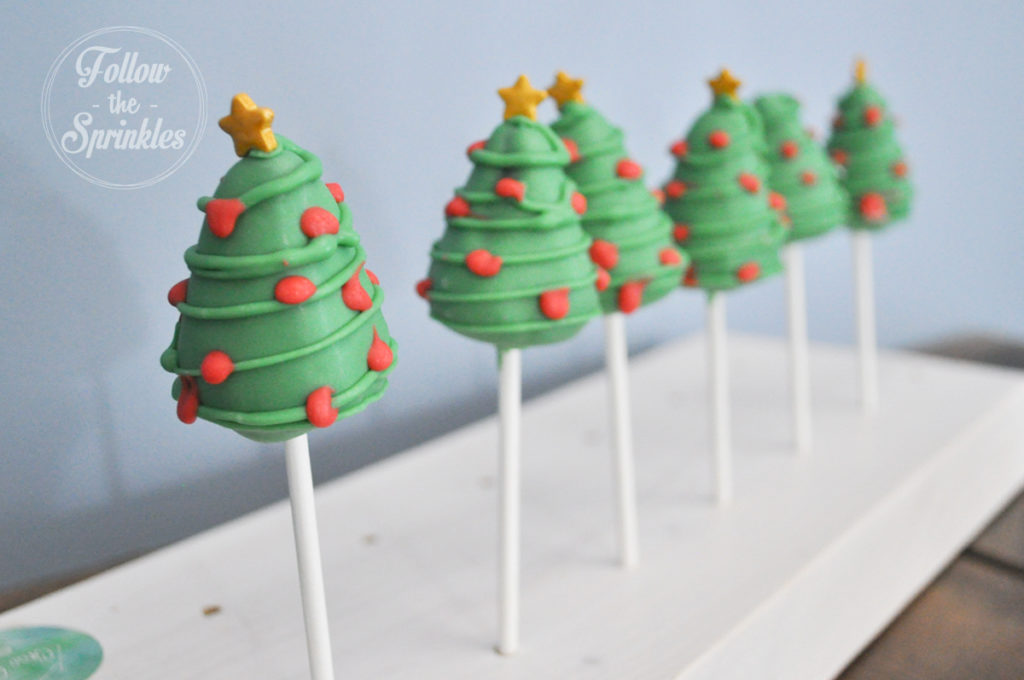
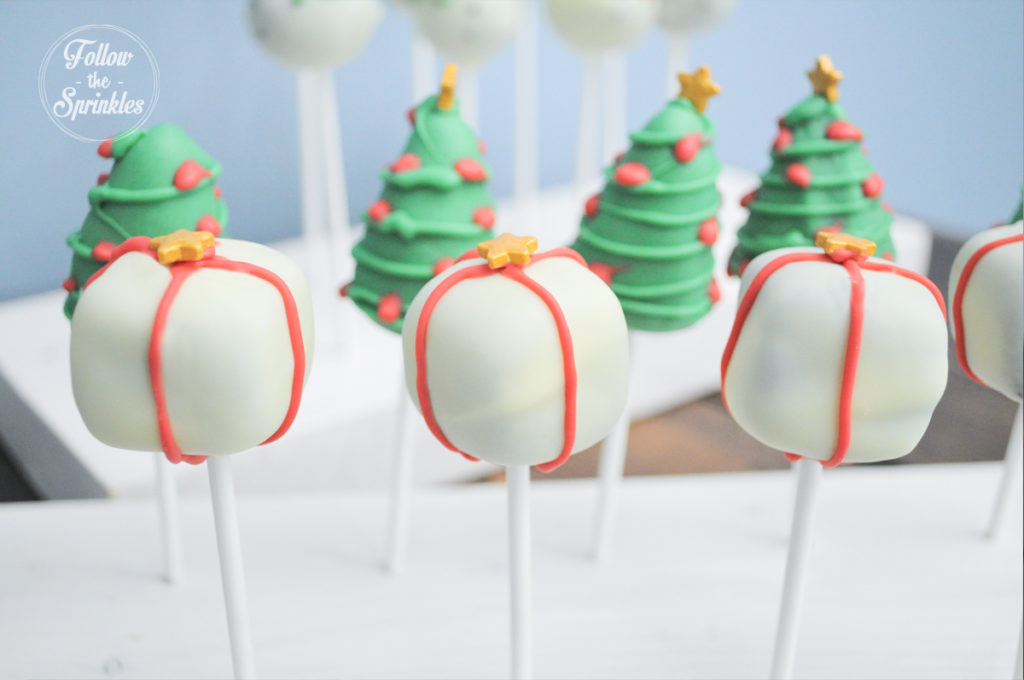
This is how to make Christmas cake pops in 3 different ways, enjoy and share the Joy!
And if you need more ideas to keep the kids busy during the holidays, what about some emoji cake pops, or perhaps some easy peasy Doughnut cookies?
Happy Holidays everybody 🙂



Trackbacks/Pingbacks