How to make Cake Pop Cones
I love love love Ice cream, adore cake pops and go crazy for anything looking cute… If that’s your case too, you are in the right place. Check out the video and keep reading to see the step by step photos and explanations. And if you like the video don’t forget to subscribe to get more sweet content 🙂
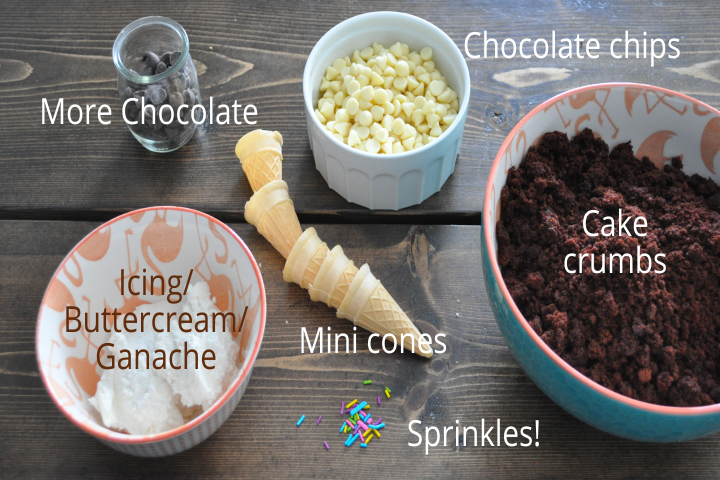
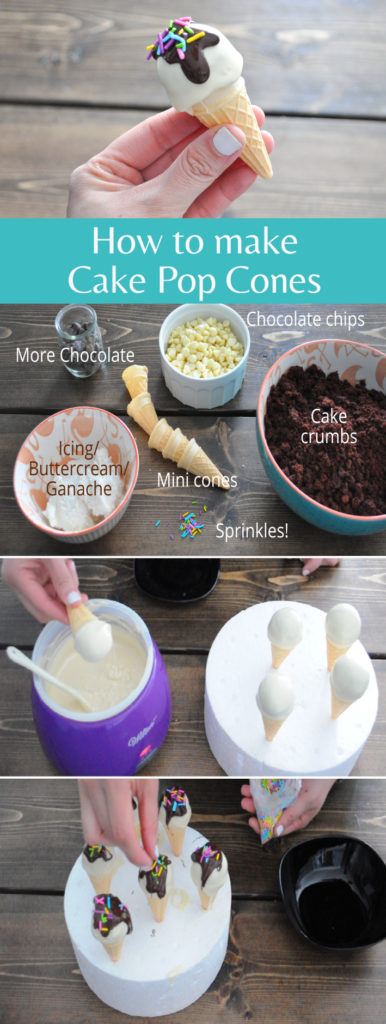
This is what you need:
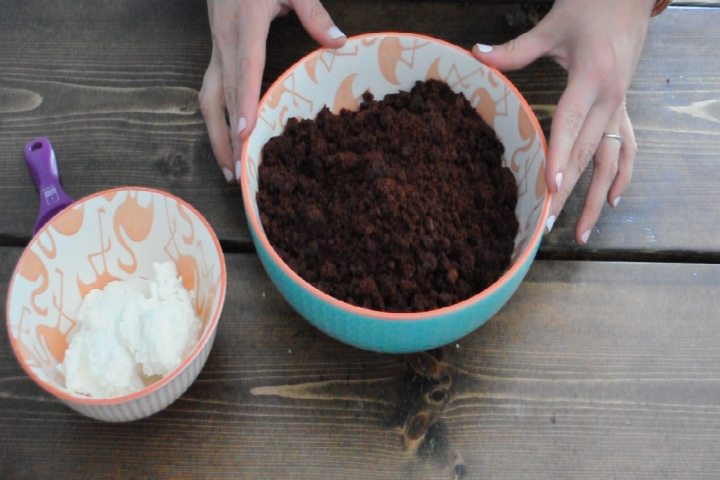
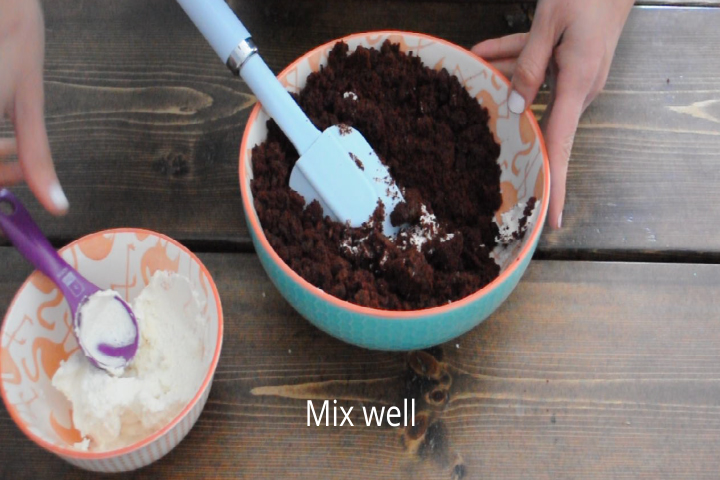
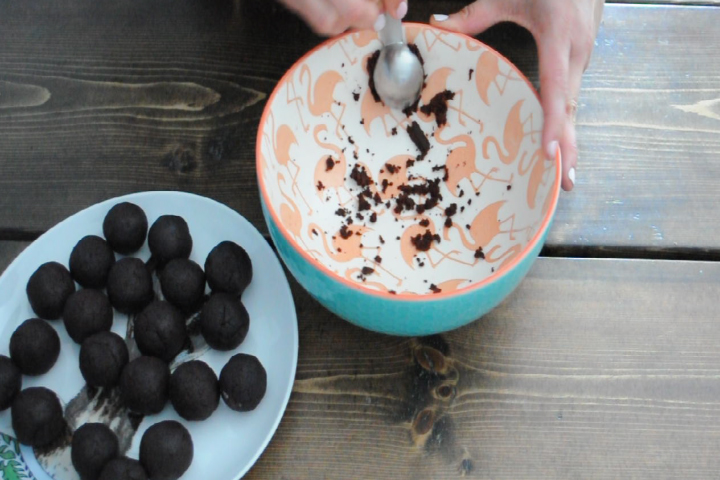
- You want to start adding icing/buttercream/ganache or whatever your choice is (normally what you would use to cover a cake with) to the cake crumbs, one table spoon at the time. There’s no amount I can tell you is the right one, because the size of your cake may be different of the one I used (My cake crumbs actually came from 2 different cakes), so start by adding one table spoon at the time and mixing, until you see you can form a ball.
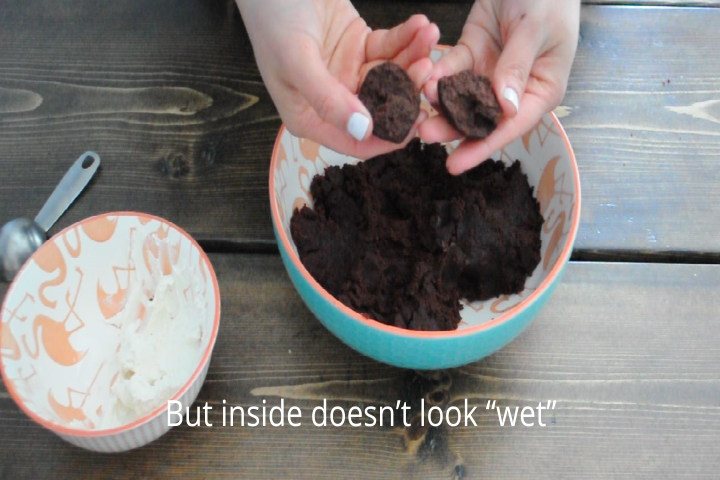
2. If the ball doesn’t fall apart is good. Break it in half and make sure is not over-moist inside, in this case is not so bad if goes a little over moist, but if they were regular cake pops, they could fall from the stick.
3. Then, since you want all your pops to be the same size, use something to measure. I normally use a metallic table spoon, because I really like the way it holds the mix, but sometimes I also use a Meatball maker, those are super easy to find. An ice cream scoop might be too big but a Cookie scoop will do the job too. Once you have all your pops done, chill in the fridge for at least 30min.
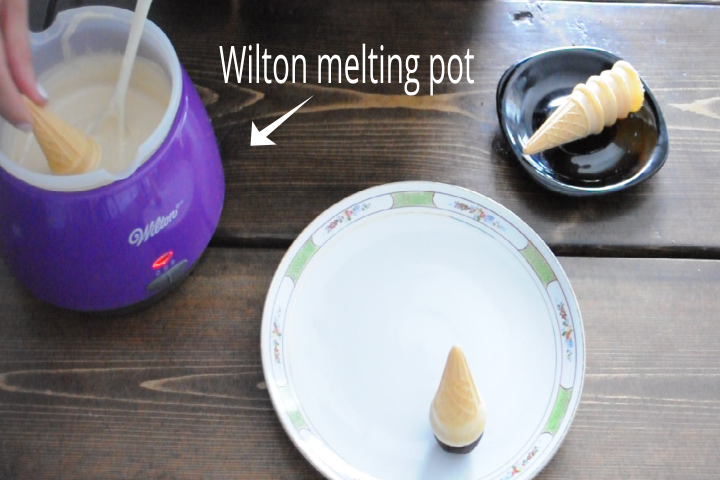
4. Start melting your chocolate or candy melts. Use the microwave, make sure to stop every 15 seconds and stir (you don’t want burn chocolate), or use a double boiler, which I think is better than the microwave method, it keeps the chocolate melting the whole time. Or if you know you’ll be making cake pops often enough, get a Wilton melting pot which is amaaaazing… Saves me tons of time and headaches.
Dip the border of your cones and proceed to put the pop on top, it will stick to it, and then just set aside. Once they’re all ready, they can go to the fridge for 20min (or as long as you want pass 20min).
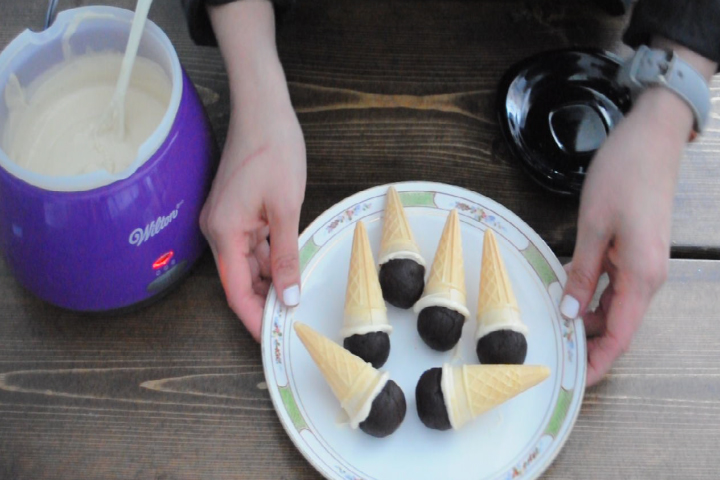
5. when the chocolate is harder and the pop won’t fall form it is time to dip the whole pop into the chocolate. Shake a little (be gentle) and put aside (I use a piece or styrofoam).
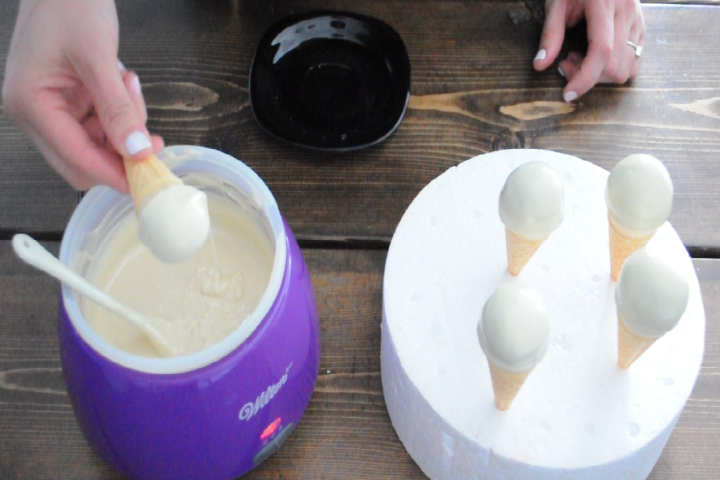
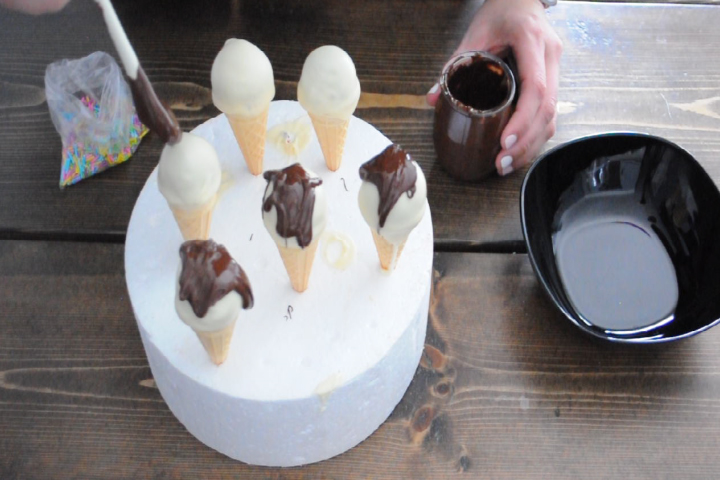
6. This time you don’t have to put them back in the fridge, just let them sit a little so the chocolate hardens a bit. Then, let some darker chocolate slowly fall/drip from a spoon. It will naturally make cute drips.
7. Add sprinkles!
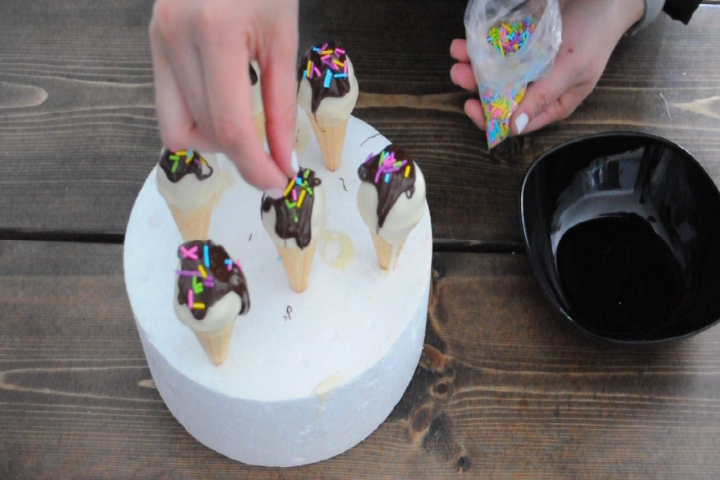
You’re all set. Let the cake pops go to the fridge for 45 minutes before you put them in any container, that way they won’t stick to each other or anything.
If you like this, please try them and let me know how it goes!
Don’t forget to pin what you like

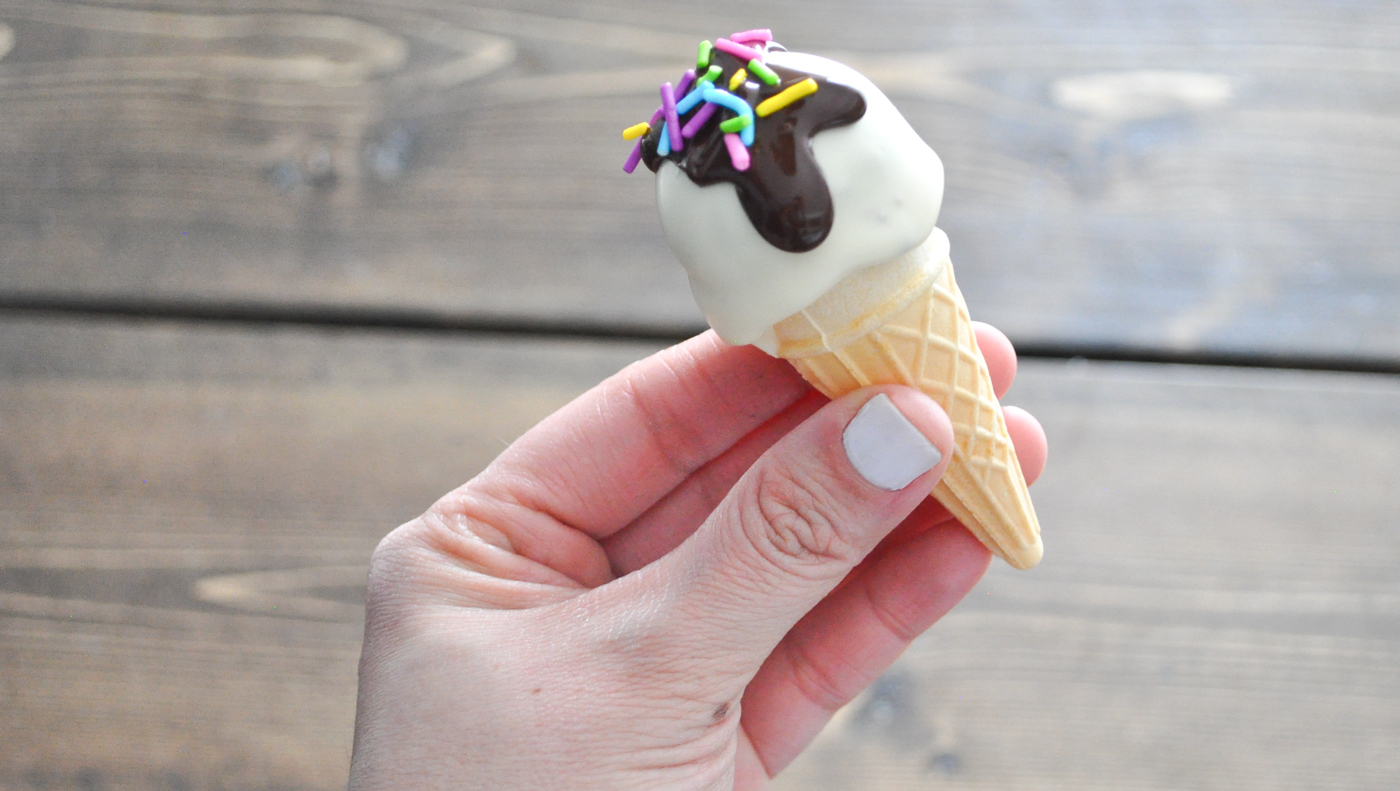

how freakin darlin are these things!! And super easy too! I am seeing these at the fourth party we hold each year!
Where can you get the mini cones?
I got those in a place where they sale bulk foods and packaging stuff for restaurants, but have seen them occasionally at the grocery store.