My Experience Making Two Large Wedding Cakes
It actually happened twice in the same summer — and I still can’t quite believe it. As you may know, I’m a self-taught home baker. No formal training, no pastry school diploma — just the internet, a stack of baking books, and tips from generous friends. So if I can pull off a wedding cake, believe me: so can you. I’d made large cakes before — I’m talking cakes for 60 or more people for various celebrations, which felt enormous at the time. But a real, multi-tiered wedding cake as the centrepiece of someone’s most important day? That was a different challenge entirely. Here’s exactly how I made a tiered wedding cake for 125 people, and then another one for 220, in my own Montreal kitchen.

Wedding Cake #1: Vanilla, Lime Curd & Swiss Meringue Buttercream (125 guests)
The first cake was for my dear friends Sasha and Sinz — a wedding I was actually a part of, which added a whole new layer of pressure. One of the reasons I bake is because I love seeing someone’s face light up when they taste something I’ve made. But there’s real terror in that too: what if nobody likes it? What if something goes wrong? What if one of my million baker fears decides to show up when I’m sitting in the front row watching people eat? Fortunately, everything went wonderfully. The feedback was overwhelmingly positive, and I can finally laugh about how nervous I was. This wedding took place at the beginning of summer. The couple wanted something fresh and citrusy, so we landed on a vanilla cake filled with cream cheese icing and lime curd — a combination that will remind you, somewhere in the back of your mind, of a key lime pie. The exterior was finished with smooth Swiss meringue buttercream. For the design, I presented the bride with a few different options and she chose her favourite. From there, I was off to bake.


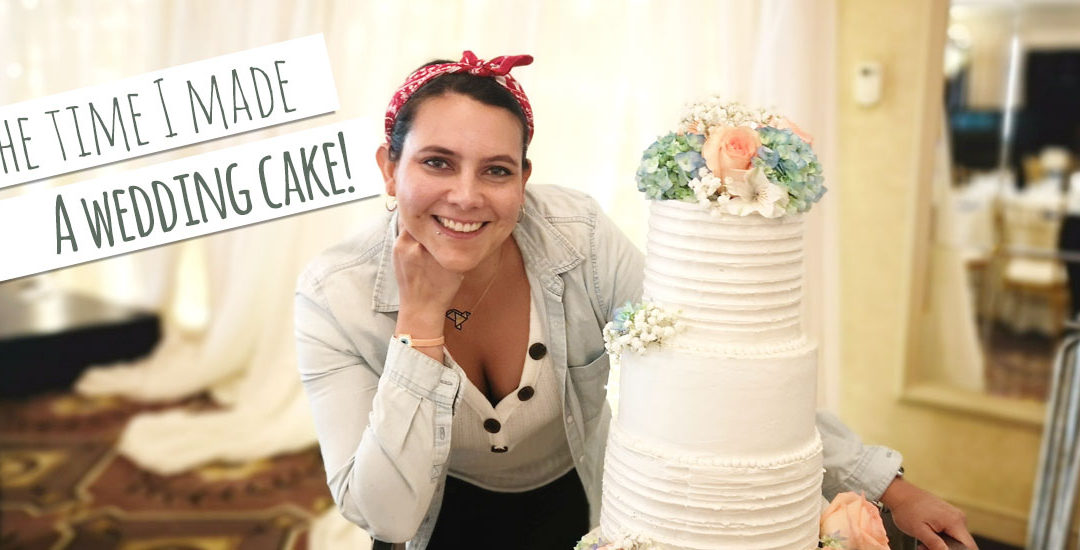
Wedding Cake #2: Marble Cake, Blueberry Compote & Fresh Flowers (220 guests)
The second cake was for my friend Tiff’s cousin Melanie — a completely different process, even though the two cakes looked similar on the surface. This time, there were 100 more guests to feed, and the flavour profile was more indulgent: a marble cake (vanilla and chocolate) filled with blueberry compote and cream cheese icing, finished with Swiss meringue buttercream and decorated with fresh flowers — the very same flowers from her bouquet and centrepieces. By this second cake, I had already learned several things I hadn’t known the first time around, and the whole process went more smoothly because of it.

Planning: Scaling Recipes for a Large Crowd
Before you bake a single thing, you need a solid plan. Wedding cakes have multiple tiers in different sizes, which means you’ll be multiplying, dividing, and scaling recipes constantly. Here’s what I recommend:
- Write out your scaled recipes in advance for each tier size. I know it sounds obvious — you can do the mental math on the fly, right? But when you’re baking batch after batch and things are happening around you, it is shockingly easy to lose count. Write it down: how many eggs for the 10-inch tier, how much butter for the 6-inch. Don’t trust future-you to remember.
- Calculate your slice counts per tier before you start. Knowing exactly how many servings each tier yields (based on whether it’s a standard or tall tier) tells you how many of each to bake and how much of each ingredient to buy.
- Make a baking timeline. For a cake of this scale, I spread the work over several days. Fillings and buttercream first, then the cakes themselves as close to the event as possible.
Equipment You’ll Need
You don’t need a professional kitchen, but having the right tools makes an enormous difference. I actually wrote a full guide on the essential cake tools every home baker actually needs — but here’s what I relied on specifically for both wedding cakes:
- Cake pans in multiple sizes (6″, 8″, 10″ at minimum for a three-tier)
- A rotating cake turntable
- Offset spatulas (one large, one small)
- A bench scraper for smooth sides
- Cake boards for each tier and a good looking, thick cake drum
- Bubble tea straws for internal support within each tier
- A long wooden or plastic centre dowel to run through all tiers
- A kitchen scale (for consistent results when scaling recipes)
- A large, sturdy moving box from Home Depot for transport (more on this below)
Step-by-Step: How I Made Each Tiered Wedding Cake
1. Prep Your Fillings First
I never start baking the cakes until my fillings are completely ready. The longer you can delay baking, the fresher the final product — and you can absolutely make your fillings days in advance. They keep beautifully in the fridge. For both weddings, I made my fillings (lime curd for the first, blueberry compote for the second) and my cream cheese icing well ahead of time. I also got a head start on the Swiss meringue buttercream during this phase.
2. Bake and Freeze Your Cake Layers
Once your fillings are sorted, it’s time to bake. Mix, pour, bake — and let each layer cool completely before doing anything else. I cannot stress this enough: a warm cake will melt your icing and ruin your crumb coat. Once cooled, wrap the layers tightly and freeze the ones you baked first. The last batches can go in the fridge. While cakes are in the oven, use that time wisely — clean up between batches, or mix your next one. Having a full-time job, two pets, and a household to run means you have to grab those pockets of time wherever you can.
3. Level Your Layers
Once all your cake layers are fully baked and completely cold, level them so each layer is as flat as possible. If you’re unsure whether a layer is perfectly level, flip it upside down on your cake board — the bottom, which was flat against the pan, becomes your new top. Instant level surface.
4. Assemble, Fill & Crumb Coat Each Tier
With your levelled layers, fillings, and buttercream all ready, it’s time to assemble. Stack each tier layer by layer, spreading filling between each one. Once each tier is fully assembled, apply a thin crumb coat — a light layer of buttercream that traps any loose crumbs. Then refrigerate each tier until the crumb coat is firm.
5. Insert Supports (Bubble Tea Straws)
Just before applying your final coat of icing, measure the height of each tier and cut bubble tea straws to match. Push them straight down into the cake — they form a hidden internal structure that bears the weight of the tiers above. Without this step, a large cake will eventually collapse under its own weight.
6. Final Icing & Decoration
Once each tier is chilled and firm, apply your final layer of Swiss meringue buttercream. Smooth the sides with your bench scraper, add any decorative elements, and return each tier to the fridge until you’re ready to stack.
7. Stack the Tiers
This is the moment that requires a deep breath. When each tier is decorated, chilled, and firm, carefully stack them one by one, running your centre dowel through all tiers to keep the cake upright and stable. Then step back. Admire the extraordinary thing you just built with your own two hands.
Transporting Your Wedding Cake Safely
Transport is the part that keeps home bakers up at night. Here’s the method I found works best: Use a large moving box from Home Depot. Place your cake board inside the box and use foam or wooden blocks as stoppers on all four sides so the board can’t slide around during the drive. Drive slowly. Take corners wide. Have someone in the passenger seat who can monitor the cake if possible.

Key Tips I Learned Making a Wedding Cake Twice
- Write everything down. Recipe quantities per tier size, number of slices per tier, your baking schedule. It sounds overly cautious until you’re elbow-deep in batter and can’t remember if you added the baking powder.
- Make fillings and buttercream first. These keep in the fridge and give you flexibility during the busiest baking days.
- Freeze what you bake first. Frozen cake layers are actually easier to level and handle — and they’ll still taste fresh once assembled.
- Do your dowel holes before stacking. Pre-drill the holes through each tier individually, so stacking is smooth and controlled.
- Apply final fresh flower decorations on site. Fresh flowers can wilt quickly — keep them in water until the last possible moment.
- Budget extra time for everything. Especially if, like me, you have a job, pets, and a life running alongside your baking schedule. Things will take longer than you expect, and that’s okay.
And if you’re just getting started, check out my guide to essential cake tools for home bakers — it’ll save you from buying things you don’t actually need.”