
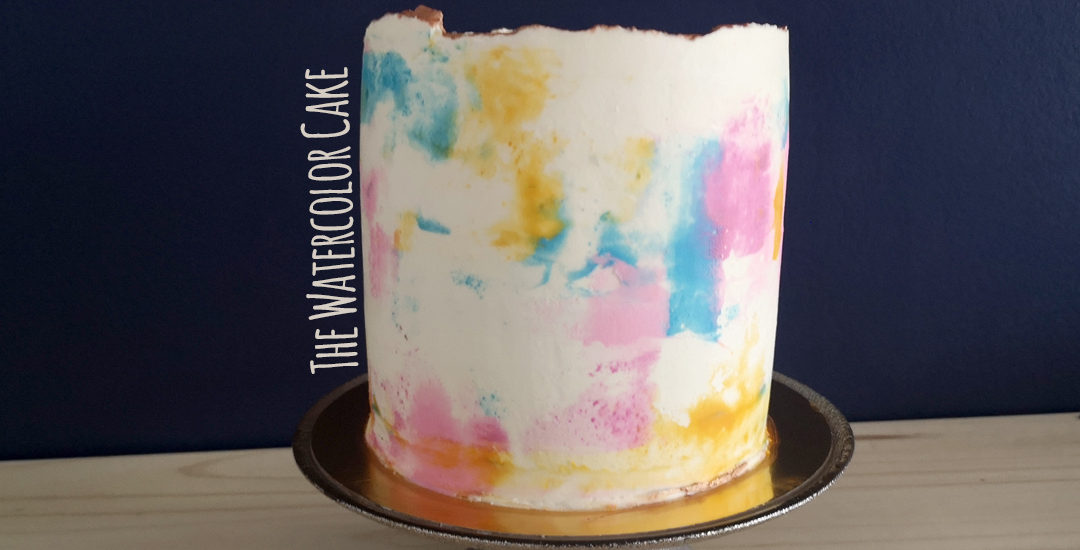
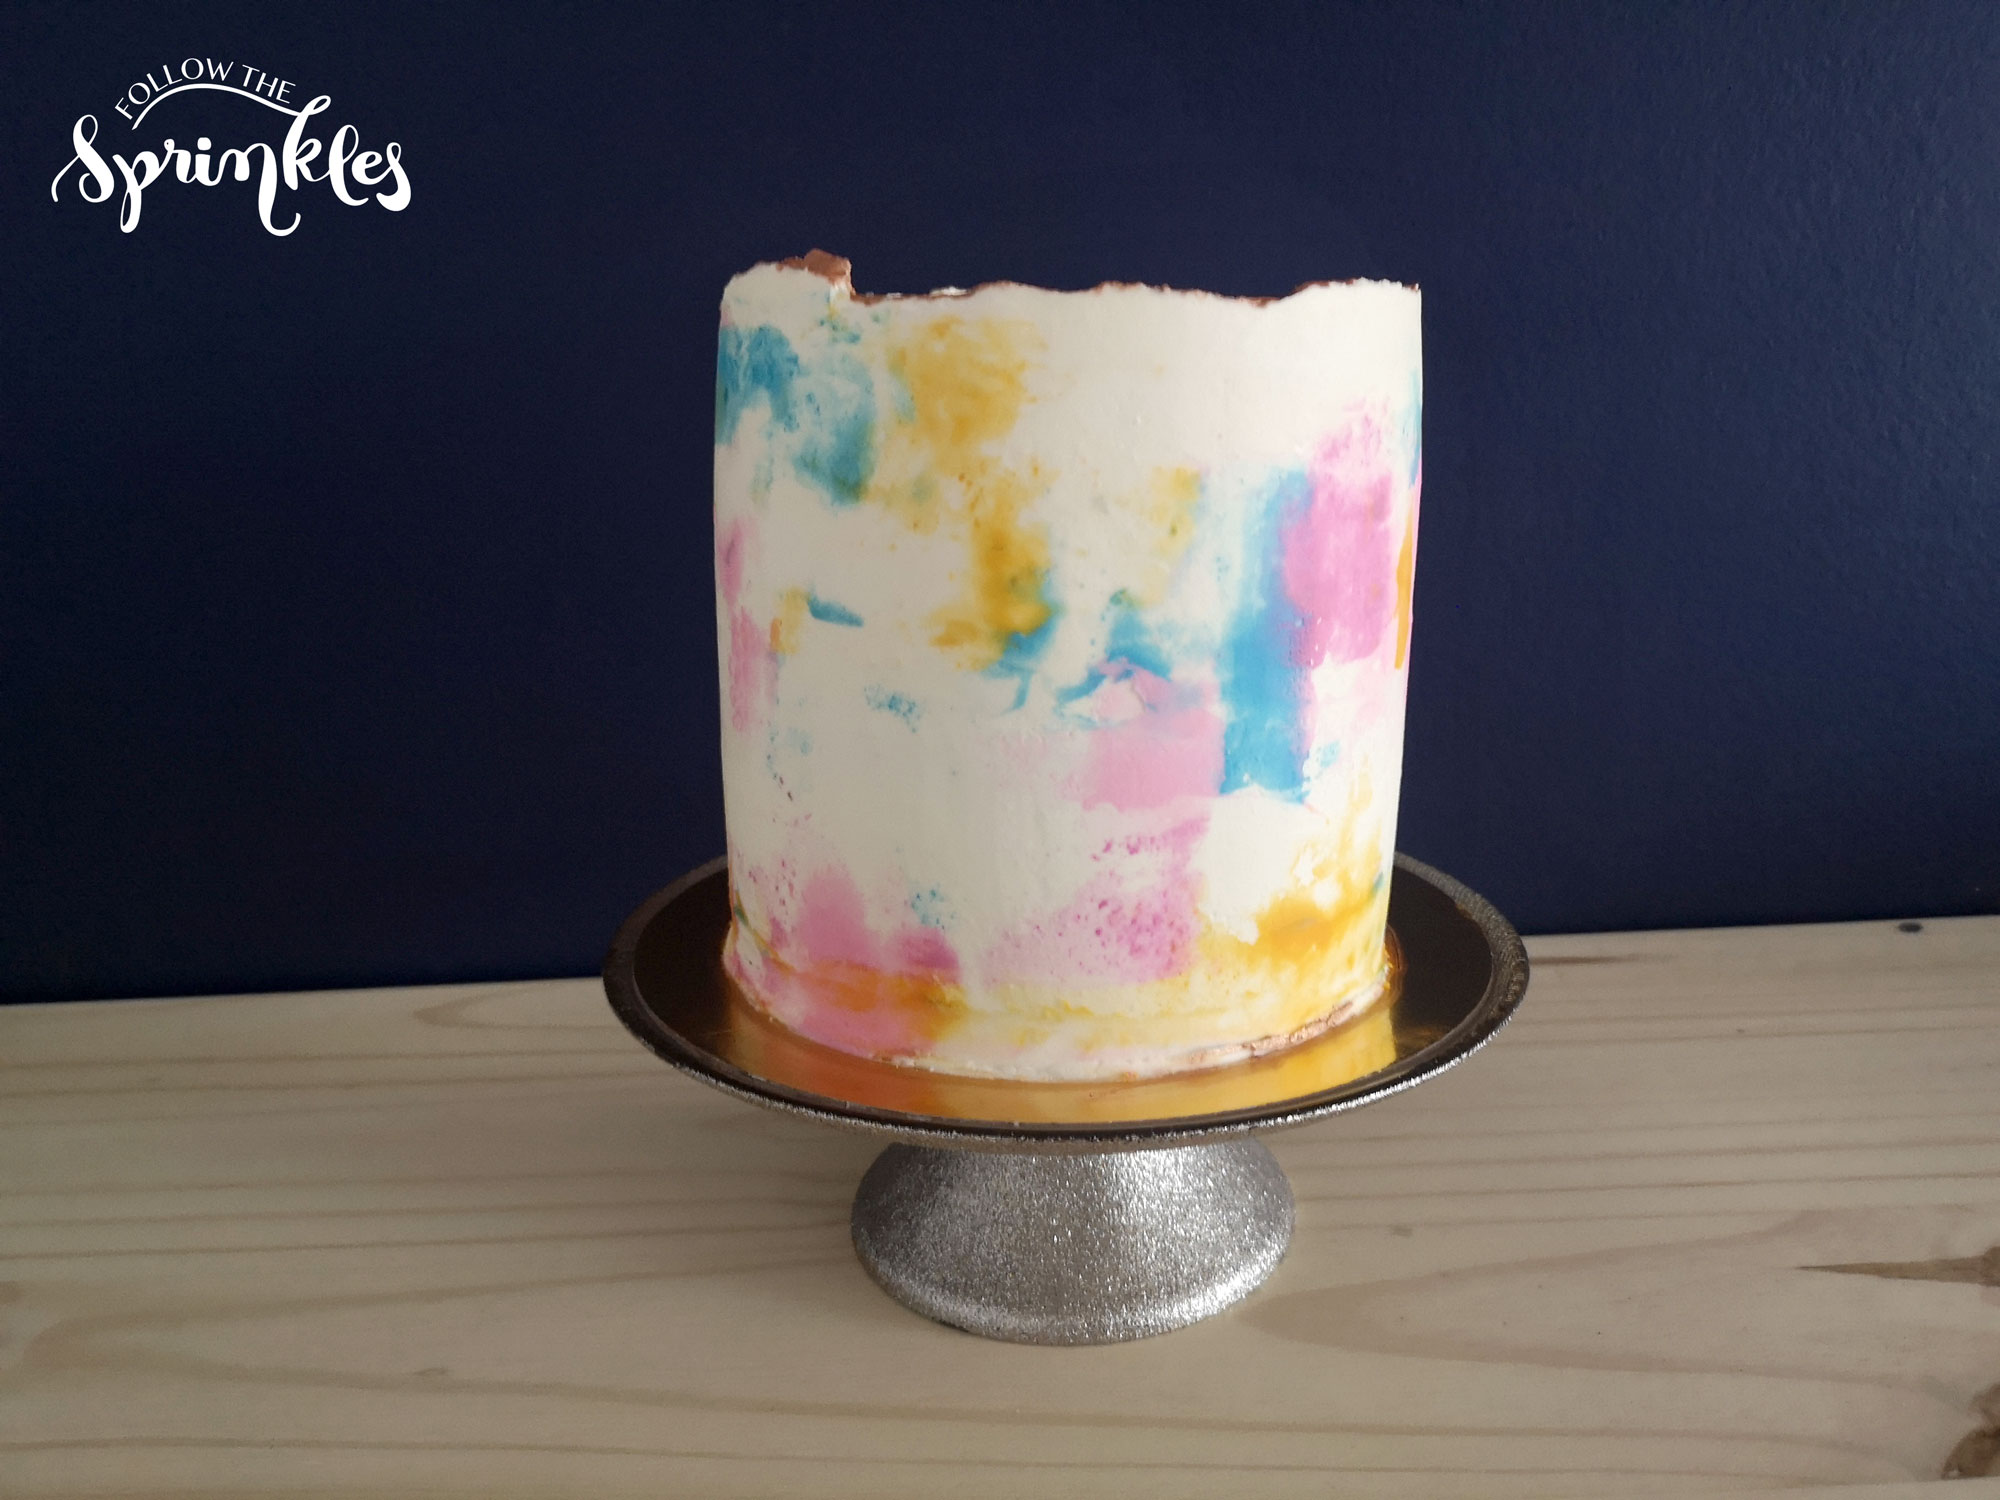
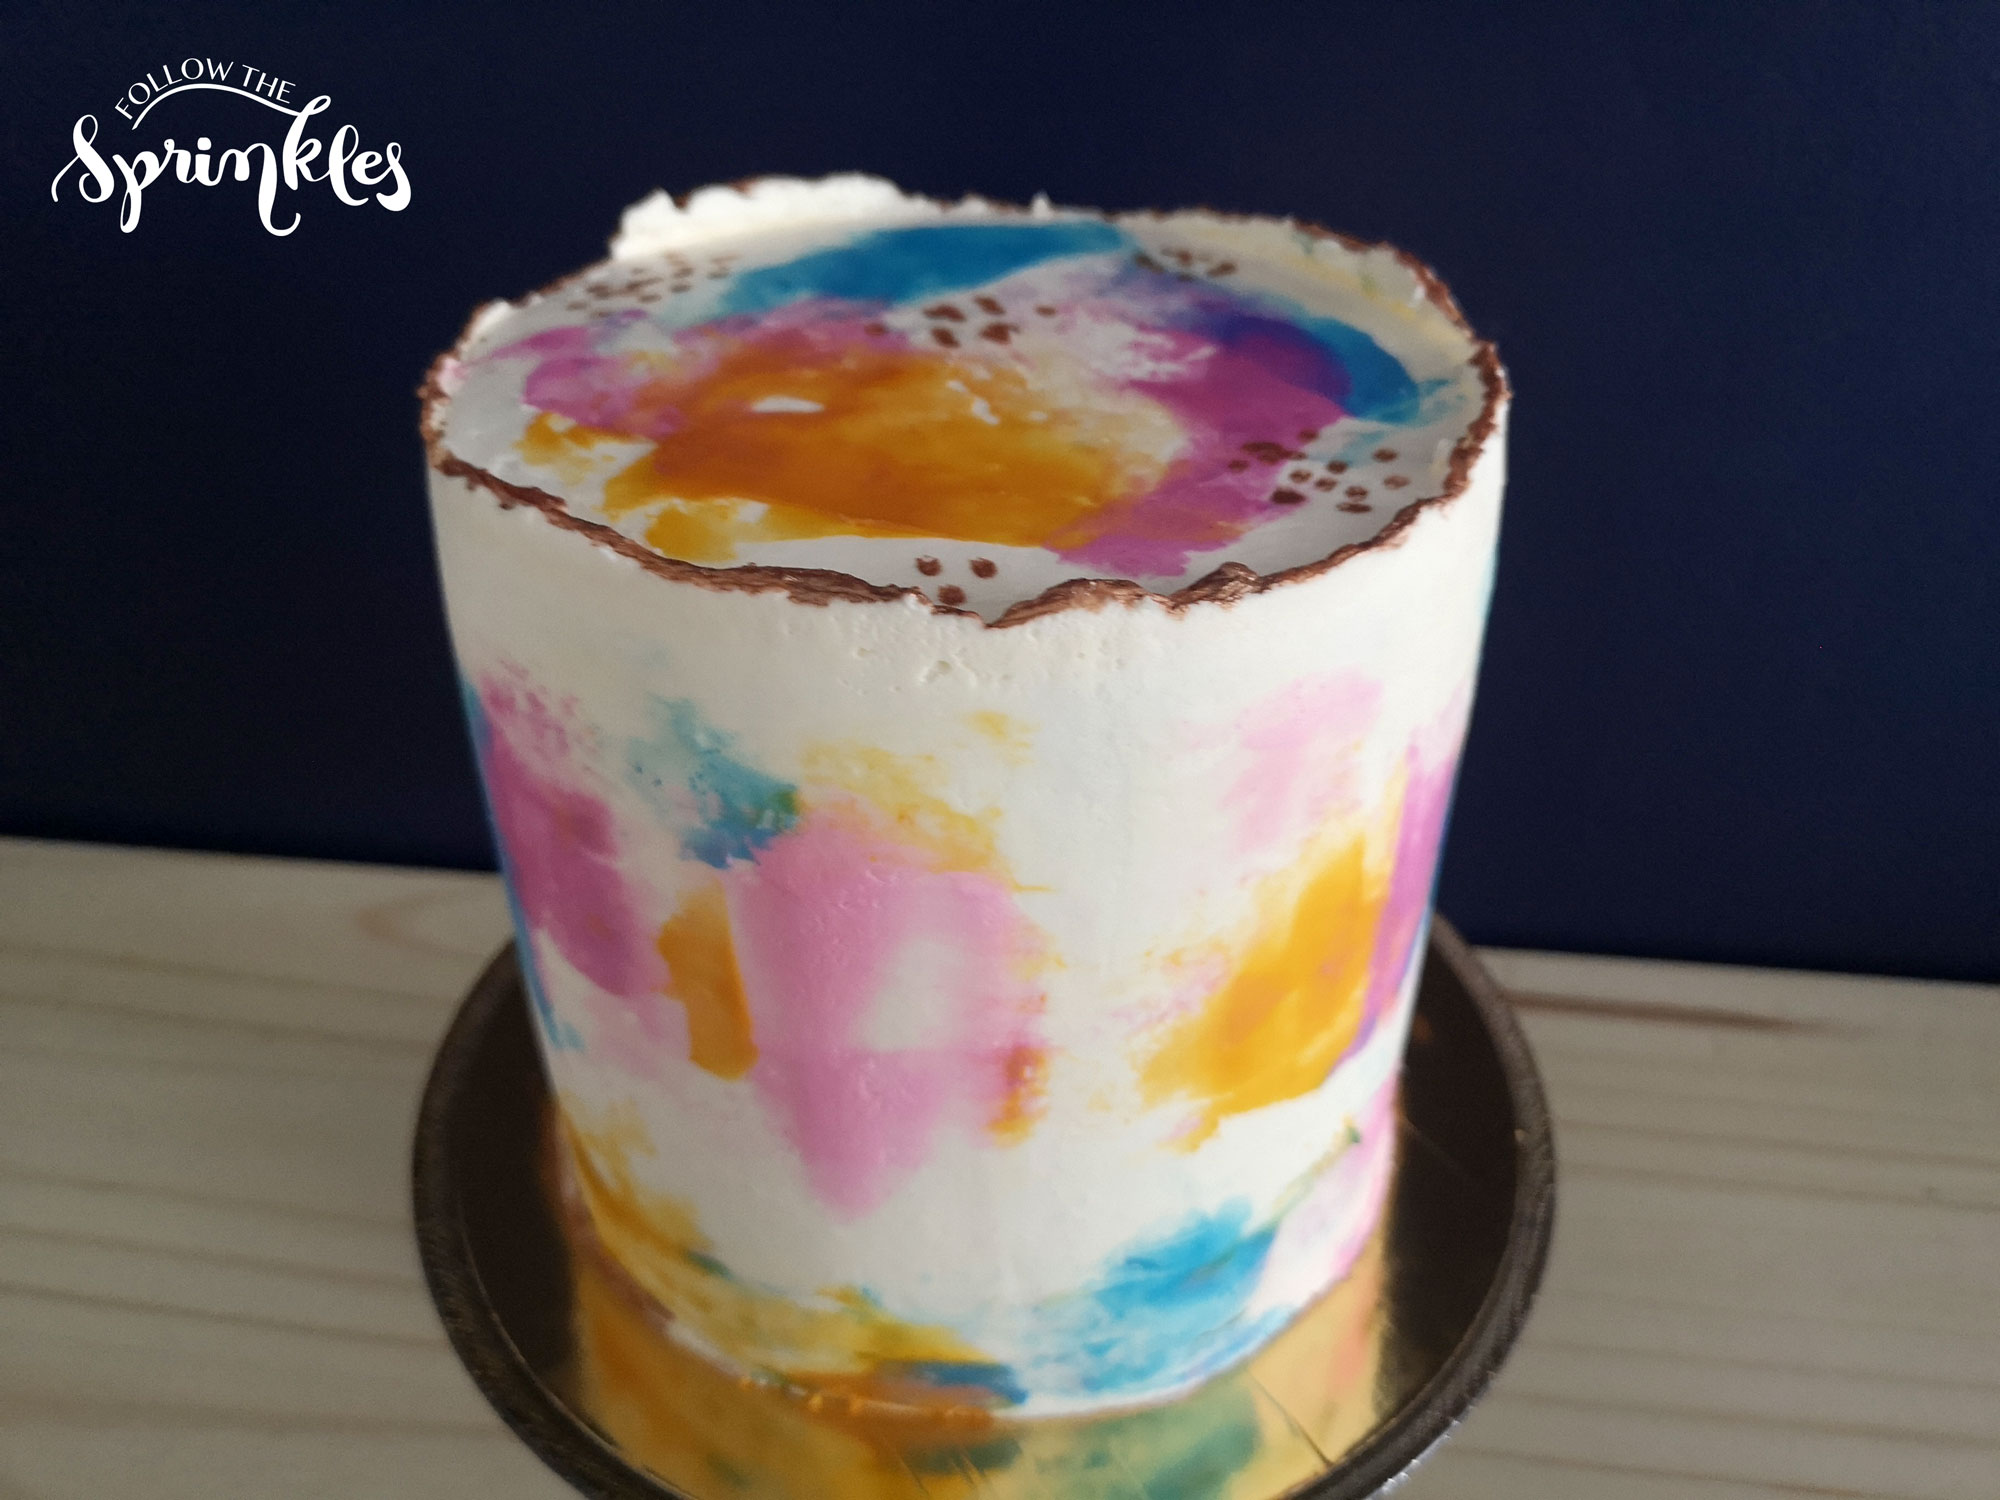
The watercolor cake can be done in so many ways — for this one, I used a simple spatula painting technique that turns out incredibly artsy with very little effort. It’s a true showstopper. I made this cake for two friends celebrating their birthdays together; they’re both colourful, untraditional, and super artistic, so this direction felt perfect for them. I finished the edge rough and painted it in copper for extra dimension, and the cake was a huge hit at the party — I was beyond happy with how it turned out.
Supplies Needed
- 6–8″ cake, crumb-coated and chilled
- Swiss meringue buttercream (chilled slightly firmer than usual)
- Gel food coloring (3–5 complementary colors)
- Small bowls for tinting buttercream
- An offset spatula (small and medium sizes work best)
- A bench scraper
- A turntable
- Piping bags or spoons for applying small amounts of color
If you’re still building out your cake decorating kit, I’ve rounded up the essential tools every home baker actually needs — most of what’s listed above is in there.
Step-by-Step Instructions
1. Ice your base coat first
Apply a smooth, even layer of plain (or lightly tinted) buttercream over your crumb-coated cake. This step is non-negotiable — any unevenness here will show through the watercolor layer and can’t be fixed afterward. Use a bench scraper to get the sides as straight and clean as possible, then chill the cake for 15–20 minutes so the surface firms up.
2. Prep your colors the day before
Divide buttercream into small bowls and tint each with gel coloring. For a richer, more vibrant finish, color your buttercream the night before and refrigerate it. When you bring it back to room temperature and re-mix the next day, you’ll notice the color has deepened noticeably compared to freshly mixed batches.
3. Apply small dabs of color
Working in small sections, dot or spread tiny amounts of your tinted buttercreams directly onto the chilled base coat. Don’t overthink placement — random, organic spacing looks more natural.
4. Blend with the offset spatula
Using light pressure, drag and swirl the spatula across the dabs of color in smooth, sweeping motions. Work in one direction at a time and avoid going over the same spot repeatedly, which can muddy the colors. Clean your spatula between color sections to keep tones distinct.
5. Build up layers gradually
Add more dabs of color and blend again as needed, building depth and movement. Step back periodically to check the overall composition — watercolor effects read best with some areas left lighter or more “open.”
6. Finish the edges
For a raw, artistic edge like the copper detail on this cake, leave the top rim slightly textured rather than smoothing it perfectly, then brush or paint it with edible metallic color for contrast.
Tips for Success
- Swiss meringue buttercream is recommended over American here — its smoother, less stiff texture lets colors blend into each other rather than sitting on top
- Work in a cool room; buttercream that’s too soft will slide rather than blend
- If colors start looking muddy, stop, scrape back to a cleaner section of base coat, and start that area again
- Follow your instinct and let your inner artist do the work — it’s actually quite relaxing and very satisfying